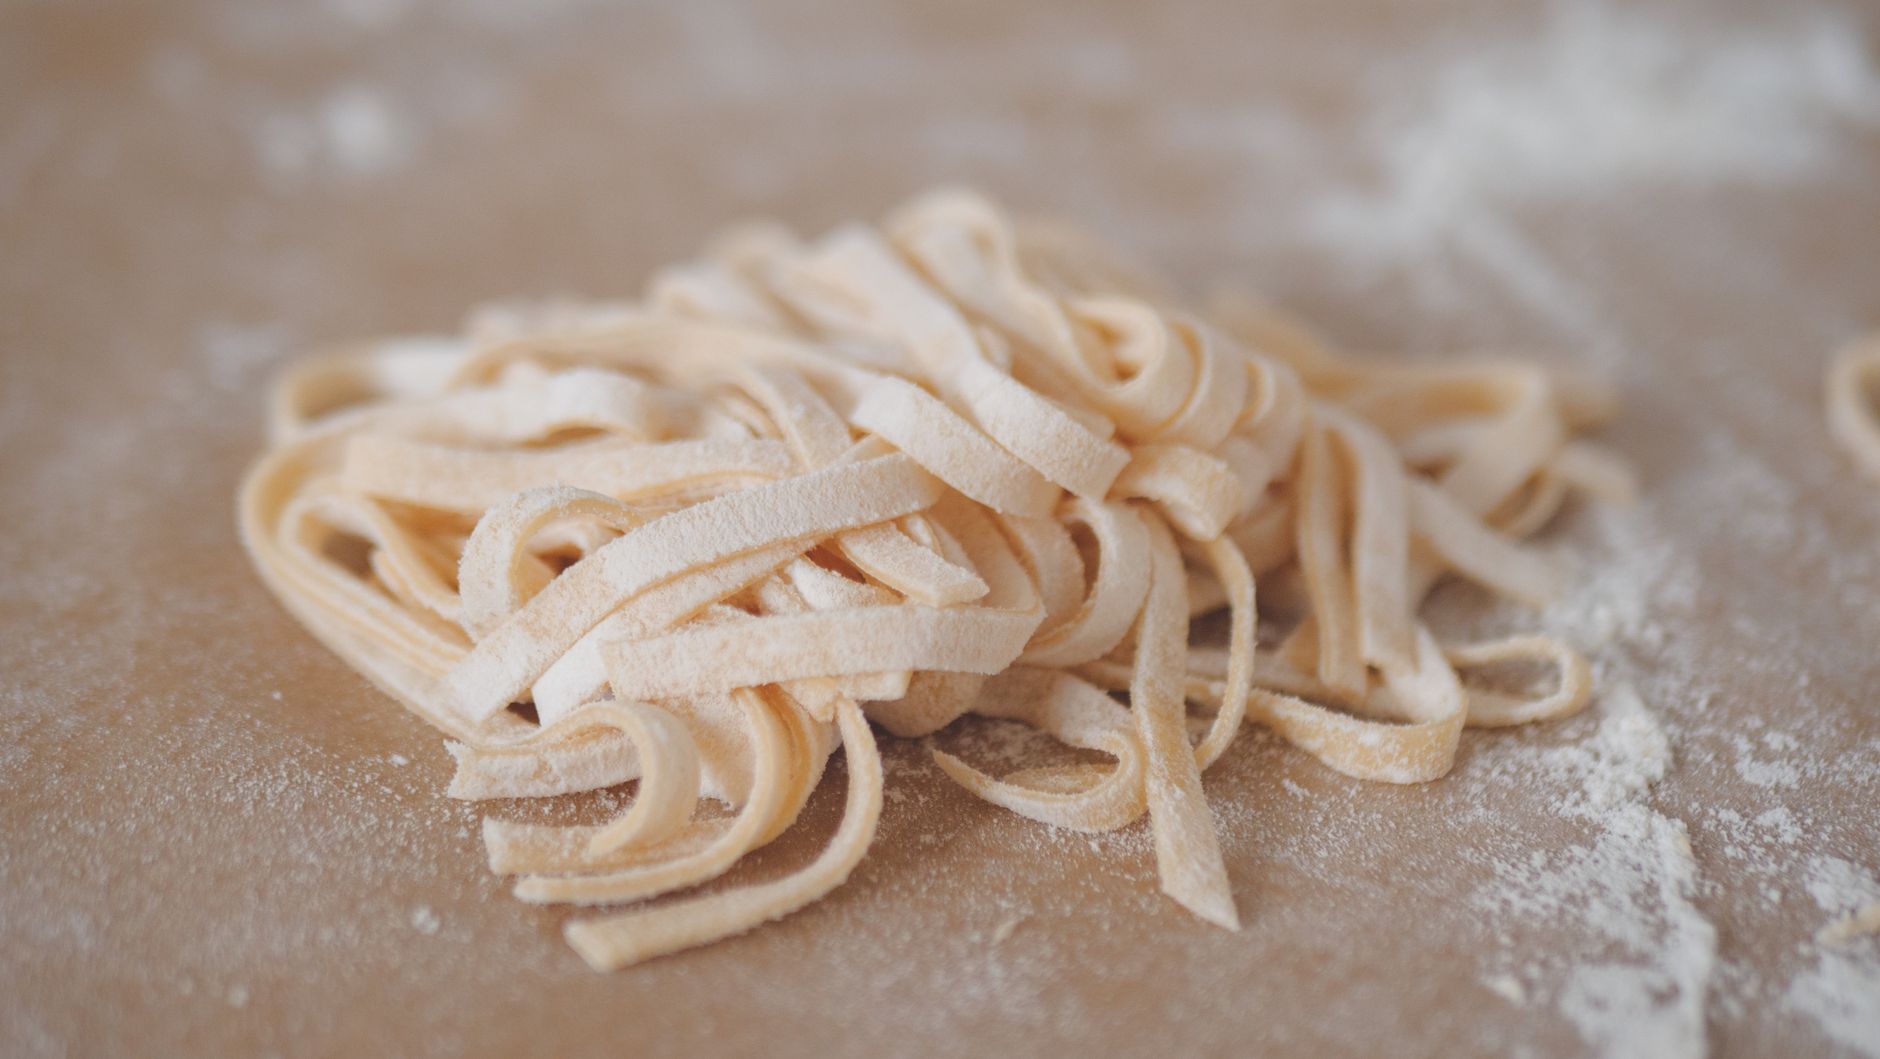
How to Make Homemade Pasta From Scratch: The Ultimate Guide
August 18, 2026 16 min read 3,248 words
Transform simple ingredients into delicious, fresh pasta that will elevate your culinary skills and delight your taste buds.
Start Rolling Today!
The Essential Ingredients and Tools for Perfect Pasta Dough
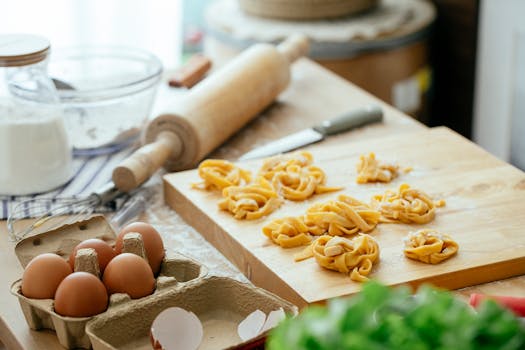 Photo: Katerina Holmes / Pexels
Embarking on the journey of how to make homemade pasta from scratch begins with understanding your foundational elements: ingredients and tools. While the concept might seem daunting, the beauty of fresh pasta lies in its simplicity, requiring only a handful of readily available components and a few key pieces of equipment. The quality of your ingredients directly impacts the final taste and texture of your pasta, so choosing wisely is paramount. At its core, traditional Italian pasta dough typically calls for just two main ingredients: flour and eggs. However, variations exist, and sometimes a touch of water or olive oil can be incorporated to adjust hydration or flavor.
Let's delve into the specifics. For flour, the gold standard for many Italian recipes is '00' flour. This finely milled wheat flour, with its lower protein content compared to all-purpose flour, creates a silky-smooth dough that's easy to work with and results in incredibly tender pasta. If '00' flour isn't accessible, unbleached all-purpose flour can be a suitable substitute, though you might find the dough slightly chewier. Some recipes, particularly those for heartier pasta types, might even call for semolina flour, which is coarser and made from durum wheat, lending a firmer bite and a beautiful golden hue. Experimentation with different flours can be a rewarding part of your pasta-making adventure.
Next, eggs. Fresh, large eggs are crucial. They provide both moisture and richness, and their protein contributes to the dough's structure and elasticity. The yolk-to-white ratio can influence the pasta's color and texture; some recipes might call for extra yolks for a richer, more vibrant pasta. Always crack your eggs into a separate bowl first to ensure freshness and to easily remove any shell fragments.
Beyond the ingredients, having the right tools makes the process significantly smoother. A large, clean work surface – a wooden board or a clean countertop – is essential for kneading and rolling. A bench scraper is invaluable for gathering dough, cleaning your work surface, and dividing portions. For rolling, you have two primary options: a rolling pin or a pasta machine. A long, heavy rolling pin, preferably a tapered one, allows for even pressure and thin rolling. However, a pasta machine, whether manual or electric, offers unparalleled consistency in thickness and makes the rolling process much quicker and less strenuous, especially for beginners. Manual pasta machines typically clamp to your countertop and feature adjustable rollers for different thicknesses and attachments for cutting various shapes like fettuccine or spaghetti. An electric pasta maker can automate even more of the process, mixing and extruding pasta for you. Other useful tools include a sharp knife or pizza cutter for shaping, a large pot for cooking, and a colander. Don't forget a cooling rack or clean kitchen towels for drying your freshly cut pasta before cooking or storing. Mastering these basics will lay a strong foundation for your homemade pasta success.
Discover more about choosing the best flours for baking.
Mastering the Art of Mixing and Kneading Pasta Dough
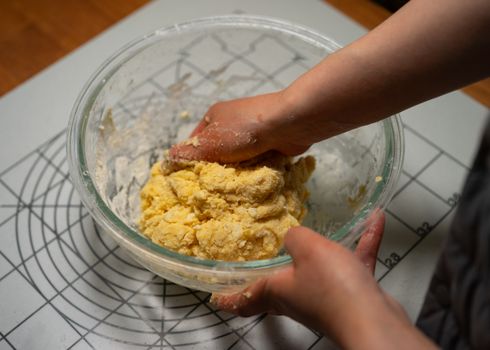 Photo: Gu Ko / Pexels
Once you have your ingredients and tools assembled, the real magic of how to make homemade pasta from scratch begins with the mixing and kneading process. This stage is arguably the most critical, as it dictates the final texture and workability of your dough. The goal is to create a smooth, elastic dough that can be rolled incredibly thin without tearing, resulting in a tender yet al dente pasta.
Start by creating a 'well' with your flour on your clean work surface. This traditional method, often seen in Italian kitchens, involves mounding the flour and making a deep, wide crater in the center. Crack your eggs directly into this well. You can add a pinch of salt at this stage – it enhances flavor but also strengthens the gluten structure. If your recipe calls for a touch of olive oil or water, incorporate it with the eggs.
Using a fork, gently whisk the eggs, gradually drawing in small amounts of flour from the inner rim of the well. Continue this motion, slowly incorporating more flour until the mixture starts to thicken and form a shaggy, sticky mass. At this point, your fork might become less effective, and you'll switch to using your hands or a bench scraper to fully combine the remaining flour. Don't be afraid to get your hands dirty!
Once all the flour is incorporated and you have a cohesive, albeit rough, ball of dough, it's time for the kneading. This is where the gluten development truly happens. Kneading transforms the shaggy mass into a smooth, pliable dough. The technique involves pushing the dough away from you with the heels of your hands, folding it back over itself, rotating it a quarter turn, and repeating. This action stretches and aligns the gluten strands, which are responsible for the pasta's elasticity and bite.
Knead for a sustained period, typically 10-15 minutes by hand. It might feel like a workout, but it's essential. You'll notice a significant change in the dough's texture: it will become progressively smoother, less sticky, and more elastic. To test for readiness, press your finger into the dough; it should spring back slowly. Alternatively, cut a small piece of dough and stretch it – it should stretch rather than tear easily.
Resist the urge to add too much extra flour during kneading if the dough feels sticky. Instead, clean your hands and the work surface frequently with a bench scraper. A slightly sticky dough is often better than a dry one, as you can always dust with more flour during rolling. If it's excessively sticky, add flour by the teaspoon. Conversely, if it feels too dry and crumbly, add a tiny bit of water, a few drops at a time.
After kneading, the dough needs to rest. This is a crucial step that allows the gluten to relax, making the dough much easier to roll thinly without snapping back. Wrap the dough tightly in plastic wrap or place it in an airtight container to prevent it from drying out. Let it rest at room temperature for at least 30 minutes, or up to an hour. Some chefs even recommend resting it in the refrigerator for a few hours or overnight, bringing it back to room temperature before rolling. This resting period is non-negotiable for achieving perfectly pliable pasta. Skipping it will result in a tough, difficult-to-roll dough that tears easily. Patience here will be greatly rewarded.
Rolling, Cutting, and Shaping Your Homemade Pasta Creations
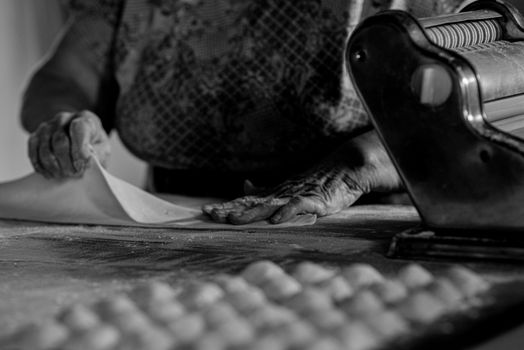 Photo: Natalia Olivera / Pexels
With a perfectly rested dough in hand, you're now ready for the most satisfying part of how to make homemade pasta from scratch: rolling, cutting, and shaping. This is where your culinary creativity truly shines, transforming a simple ball of dough into elegant strands or intricate pockets. The key to excellent pasta lies in achieving a consistent, thin sheet of dough.
If using a pasta machine, divide your dough into manageable portions, typically quarters or eighths, depending on the size of your machine and work surface. Keep the unworked dough covered to prevent it from drying out. Flatten one portion into a rough rectangle with your hands or a rolling pin. Set your pasta machine to its widest setting (usually '1'). Pass the dough through, then fold it into thirds (like a letter) and pass it through again. Repeat this folding and passing 2-3 times on the widest setting; this helps to square off the dough and further develop the gluten.
Now, begin to progressively decrease the thickness setting, passing the dough through each setting once or twice until you reach your desired thickness. For most common pasta shapes like fettuccine or spaghetti, settings 6 or 7 on a typical manual machine are ideal. For delicate filled pasta like ravioli, you might go even thinner, to setting 8 or 9. The dough sheet should become translucent enough that you can almost see your hand through it. If the dough becomes too long to handle, cut it in half. Dust lightly with flour if it starts to stick.
For those using a rolling pin, this process requires more muscle and practice, but the results can be just as rewarding. Start by flattening a dough portion and begin rolling from the center outwards, rotating the dough frequently and flipping it over to ensure even thickness. Roll until the dough is incredibly thin, almost transparent. A good trick is to lift the dough and hold it up to a light source; if you can see through it, you're on the right track.
Once you have your thin sheets, it's time for cutting and shaping. The most common method for long pasta is using the cutting attachments on your pasta machine. Feed the sheet through the desired cutter (e.g., fettuccine or spaghetti). As the strands emerge, catch them and dust them lightly with semolina flour to prevent sticking. You can then drape them over a pasta drying rack or coil them loosely into nests on a floured baking sheet.
For hand-cut pasta, fold your thinly rolled sheet loosely or roll it up like a cigar. Using a sharp knife, cut across the folded or rolled dough to create strands of your desired width. Unfurl them gently and dust with flour.
Beyond simple strands, the world of pasta shapes is vast. You can cut squares or circles for ravioli or tortellini, using a pasta stamp or a knife. For these filled pastas, place a small dollop of filling on one half of your dough shape, moisten the edges with water, and fold over the other half, sealing tightly to prevent leakage during cooking. Other shapes like farfalle (bow ties) can be made by pinching the center of small rectangles.
Explore different types of Italian sauces to pair with your homemade pasta.
After shaping, fresh pasta needs to dry slightly. This prevents it from clumping together when cooked. For long pasta, a drying rack is ideal. For shorter or filled shapes, arrange them in a single layer on a floured baking sheet. Drying time can range from 15 minutes to several hours, depending on humidity and the desired storage method. For immediate cooking, a quick 15-30 minute dry is usually sufficient. For longer storage, you'll need to dry it more thoroughly until brittle. Proper drying ensures your pasta holds its shape and cooks perfectly.
Cooking Fresh Pasta and Troubleshooting Common Mistakes
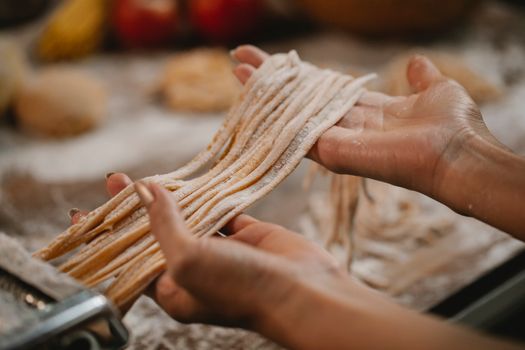 Photo: Klaus Nielsen / Pexels
The final, exhilarating step in how to make homemade pasta from scratch is cooking and enjoying your culinary creation. Fresh pasta cooks significantly faster than its dried counterpart, so precision and attentiveness are key to achieving that perfect al dente texture. Overcooked fresh pasta can quickly turn mushy, losing its delicate bite.
Start by bringing a large pot of generously salted water to a rolling boil. The salt is crucial; it seasons the pasta from within and enhances its flavor. A good rule of thumb is about 1 tablespoon of salt per gallon of water. Ensure you use a large enough pot and plenty of water so the pasta has room to move and doesn't stick together.
Once the water is boiling vigorously, carefully add your fresh pasta. If you've made long strands or nests, gently lower them into the water. Give them a quick stir to prevent sticking. The cooking time for fresh pasta is remarkably short, typically ranging from 2 to 4 minutes, depending on the thickness of your pasta and your preferred level of doneness. Filled pastas like ravioli might take a minute or two longer. Begin tasting a piece of pasta after about 90 seconds. You're looking for an al dente texture – tender but with a slight chew in the center.
Once cooked, use a spider strainer or tongs to transfer the pasta directly into your prepared sauce. Avoid rinsing the pasta, as this removes the beneficial starches that help the sauce cling to the noodles. A common Italian technique is to reserve some of the starchy pasta cooking water. This water can be added to your sauce to help emulsify it, creating a richer, more cohesive coating for your pasta. Toss the pasta with the sauce for a minute or two over low heat, allowing the flavors to meld beautifully. Serve immediately, perhaps with a sprinkle of fresh Parmesan cheese and herbs.
Even seasoned pasta makers encounter challenges. Here are some common mistakes and how to troubleshoot them:
* **Dough too sticky:** This usually means too much egg or water, or not enough flour. Add flour, a tablespoon at a time, during kneading until it reaches the right consistency. If rolling, dust your surface and dough liberally with flour.
* **Dough too dry/crumbly:** Not enough moisture. Add a few drops of water or olive oil and continue kneading until smooth.
* **Pasta tears when rolling:** The dough hasn't rested enough, or it's too dry. Ensure a minimum of 30 minutes rest. If dry, try re-kneading with a few drops of water.
* **Pasta sticks together when cooking:** Not enough water in the pot, or insufficient stirring at the beginning of cooking. Also, not dusting enough with flour/semolina after cutting can cause sticking. Ensure your pasta is well-floured and try to cook it in batches if your pot is small.
* **Pasta turns mushy:** Overcooked. Fresh pasta cooks very quickly! Start tasting early and remove promptly.
* **Pasta tastes bland:** Not enough salt in the cooking water. Remember, salt is essential for seasoning the pasta itself.
Making homemade pasta is a skill that improves with practice. Don't be discouraged by initial imperfections. Each batch is a learning experience, bringing you closer to pasta perfection. Embrace the process, and you'll soon be creating delectable dishes that impress everyone at your table. Enjoy the fruits of your labor!